Nailing baseboards is a fundamental step in finishing the interior of a room. Properly installed baseboards not only enhance the aesthetic appeal of your space but also serve a functional purpose by covering gaps and seams. In this comprehensive guide, we will explore the techniques and tips required for a flawless baseboard installation.
Before diving into the installation process, it’s essential to gather the necessary tools and materials. You will need:
- Baseboards
- Measuring Tape
- Miter Saw
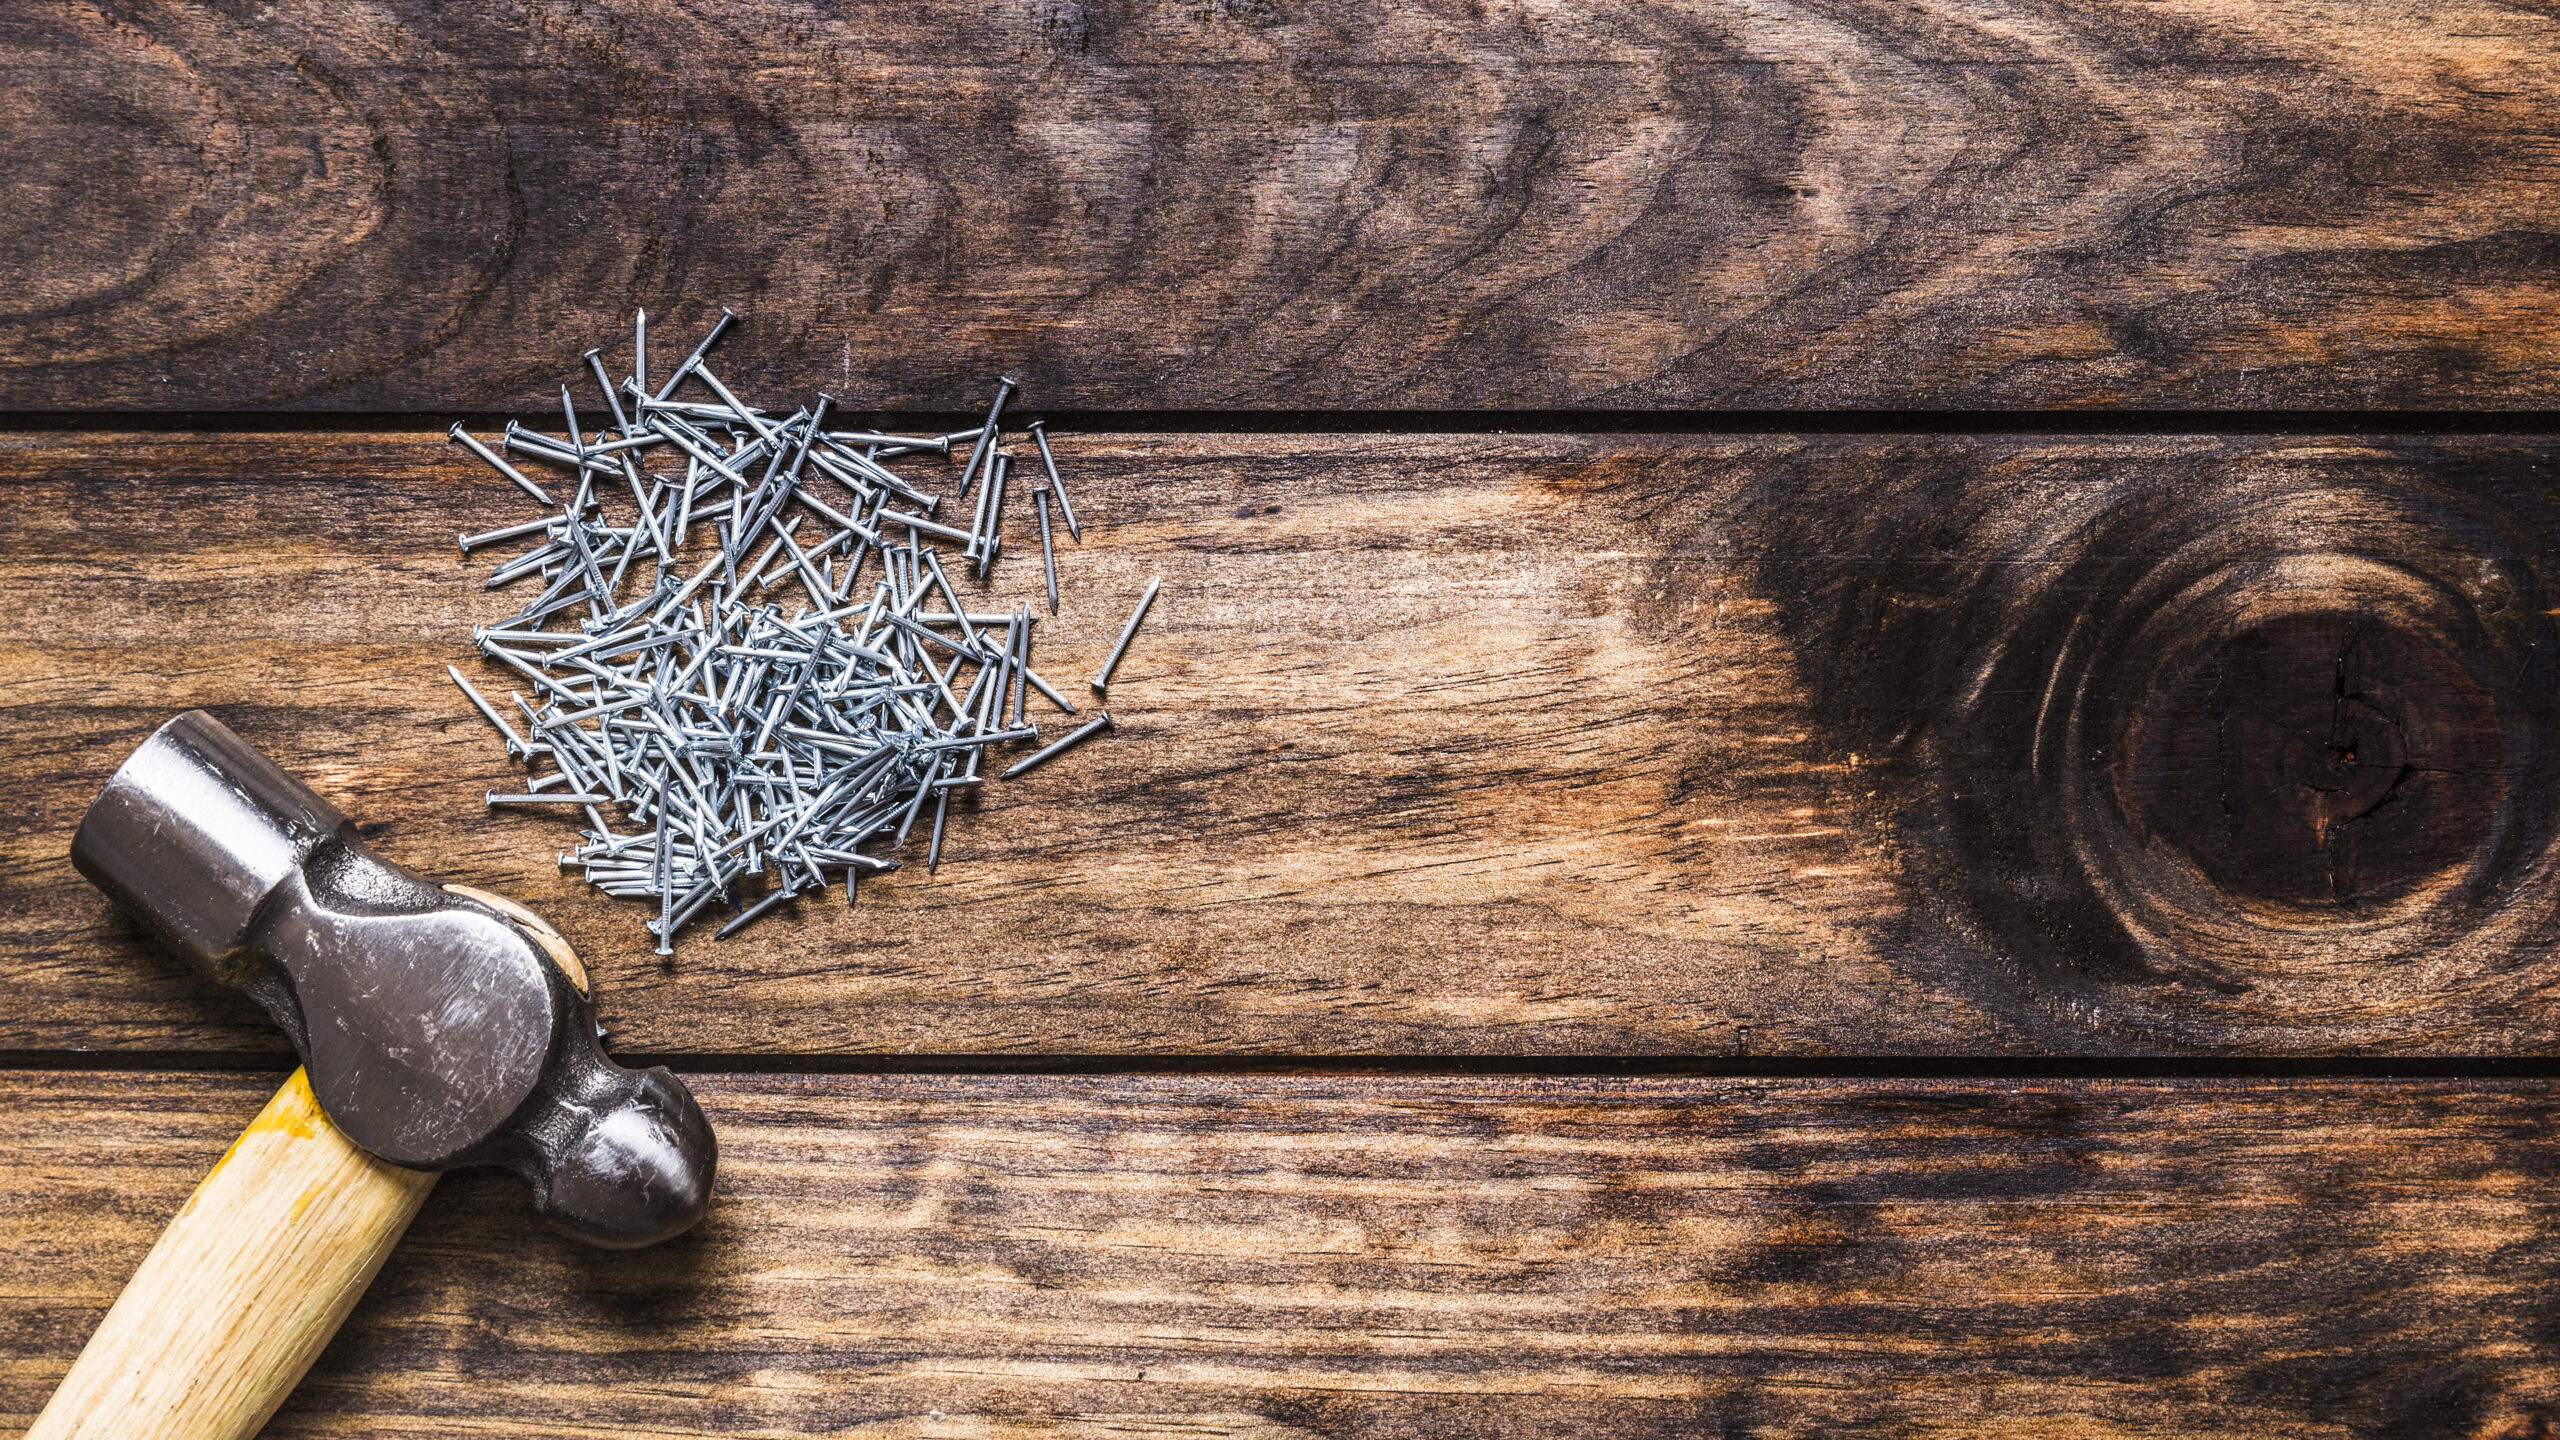
- Hammer or Nail Gun
- Finishing Nails
- Level
- Wood Glue
- Sandpaper
- Coping Saw
- Painter’s Caulk
Once you have everything ready, follow these steps to nail baseboards:
1. Measure and Cut the Baseboards
Begin by measuring the length of the wall where you intend to install the baseboards. Use a miter saw to make precise 45-degree cuts at the corners for a seamless fit. Remember that the baseboards should be cut at a slight angle to ensure a snug joint at the corners.
2. Apply Wood Glue
Apply wood glue to the back of the baseboards before nailing them in place. This added adhesive will provide extra support and prevent the baseboards from loosening over time.
3. Nail the Baseboards
Using a hammer or nail gun, nail the baseboards to the wall. Make sure to drive the nails at an angle through the baseboards and into the wall studs for a secure fit. The angle of the nails helps prevent splitting of the baseboards.
Passive voice can be used effectively in this step: “The baseboards should be nailed to the wall with care, ensuring that they are securely fastened.”
4. Check for Level
Use a level to ensure that the baseboards are straight and level along the wall. Adjust as needed by tapping the baseboards with a mallet or adding shims behind them.
Transition words like “Additionally,” “Moreover,” and “Furthermore” can be used to enhance the flow of the instructions.
5. Fill Nail Holes and Gaps
After nailing the baseboards, use wood filler to fill any nail holes or gaps between the baseboards and the wall. Sand the filled areas once they are dry to create a smooth surface.
Passive voice can be integrated: “Nail holes and gaps should be filled with wood filler, and once dry, they should be sanded.”
6. Coping Inside Corners
Inside corners of rooms often require coping to create a seamless joint. Use a coping saw to carefully cut along the profile of the baseboard where it meets the adjoining piece. The coped joint should fit snugly, allowing for a smooth transition.
7. Caulk the Gaps
Apply painter’s caulk to any remaining gaps between the baseboards and the wall. This not only creates a finished look but also prevents drafts and dust from entering the gaps.
Transition words like “Additionally,” “Furthermore,” and “Consequently” can be used to improve the article’s flow.
8. Sand and Paint
Once the caulk is dry, sand the entire baseboard surface to create a smooth and even finish. After sanding, apply paint or stain to match the room’s decor. Multiple coats may be necessary for full coverage.
9. Final Inspection
Inspect the installed baseboards for any imperfections or areas that may require touch-ups. Make necessary adjustments and ensure that the baseboards are securely attached to the wall.
In conclusion, properly nailing baseboards is essential for achieving a polished and professional look in any room. By following these steps and using the right tools and materials, you can complete this task with confidence. Whether you’re renovating or enhancing the aesthetics of your space, a well-executed baseboard installation adds the perfect finishing touch.
So, whether you’re a DIY enthusiast or a homeowner looking to improve your living space, mastering the art of nailing baseboards is a valuable skill that enhances the overall appeal of your home.
Image by Freepik