Buttons are tiny yet essential components of our clothing. They serve both functional and decorative purposes, but what happens when one pops off? Don’t worry, sewing a button is a valuable skill that can save your favorite shirt or jacket from retirement. In this guide, we will walk you through the steps to sew a button back securely.
Step 1: Gather Your Materials
Before we dive into the sewing process, ensure you have the following materials at hand:
– Needle
– Thread (matching the color of your fabric)
– Button
– Scissors
– A pin or toothpick (optional)
Step 2: Thread the Needle
Cut a length of thread (about 18 inches) and thread it through the eye of the needle. Double up the thread and tie a knot at the end, creating a double thread. This will make your stitching more secure.
Step 3: Position the Button
Decide where you want to attach the button on your garment. If it’s replacing a lost button, look for the spot where the previous button was attached. If it’s decorative, choose a position that complements the design.
Step 4: Create an Anchor
To prevent the knot from pulling through the fabric, start from the inside of the garment (the wrong side). Push the needle up through the fabric and then back down to create an anchor for your thread.
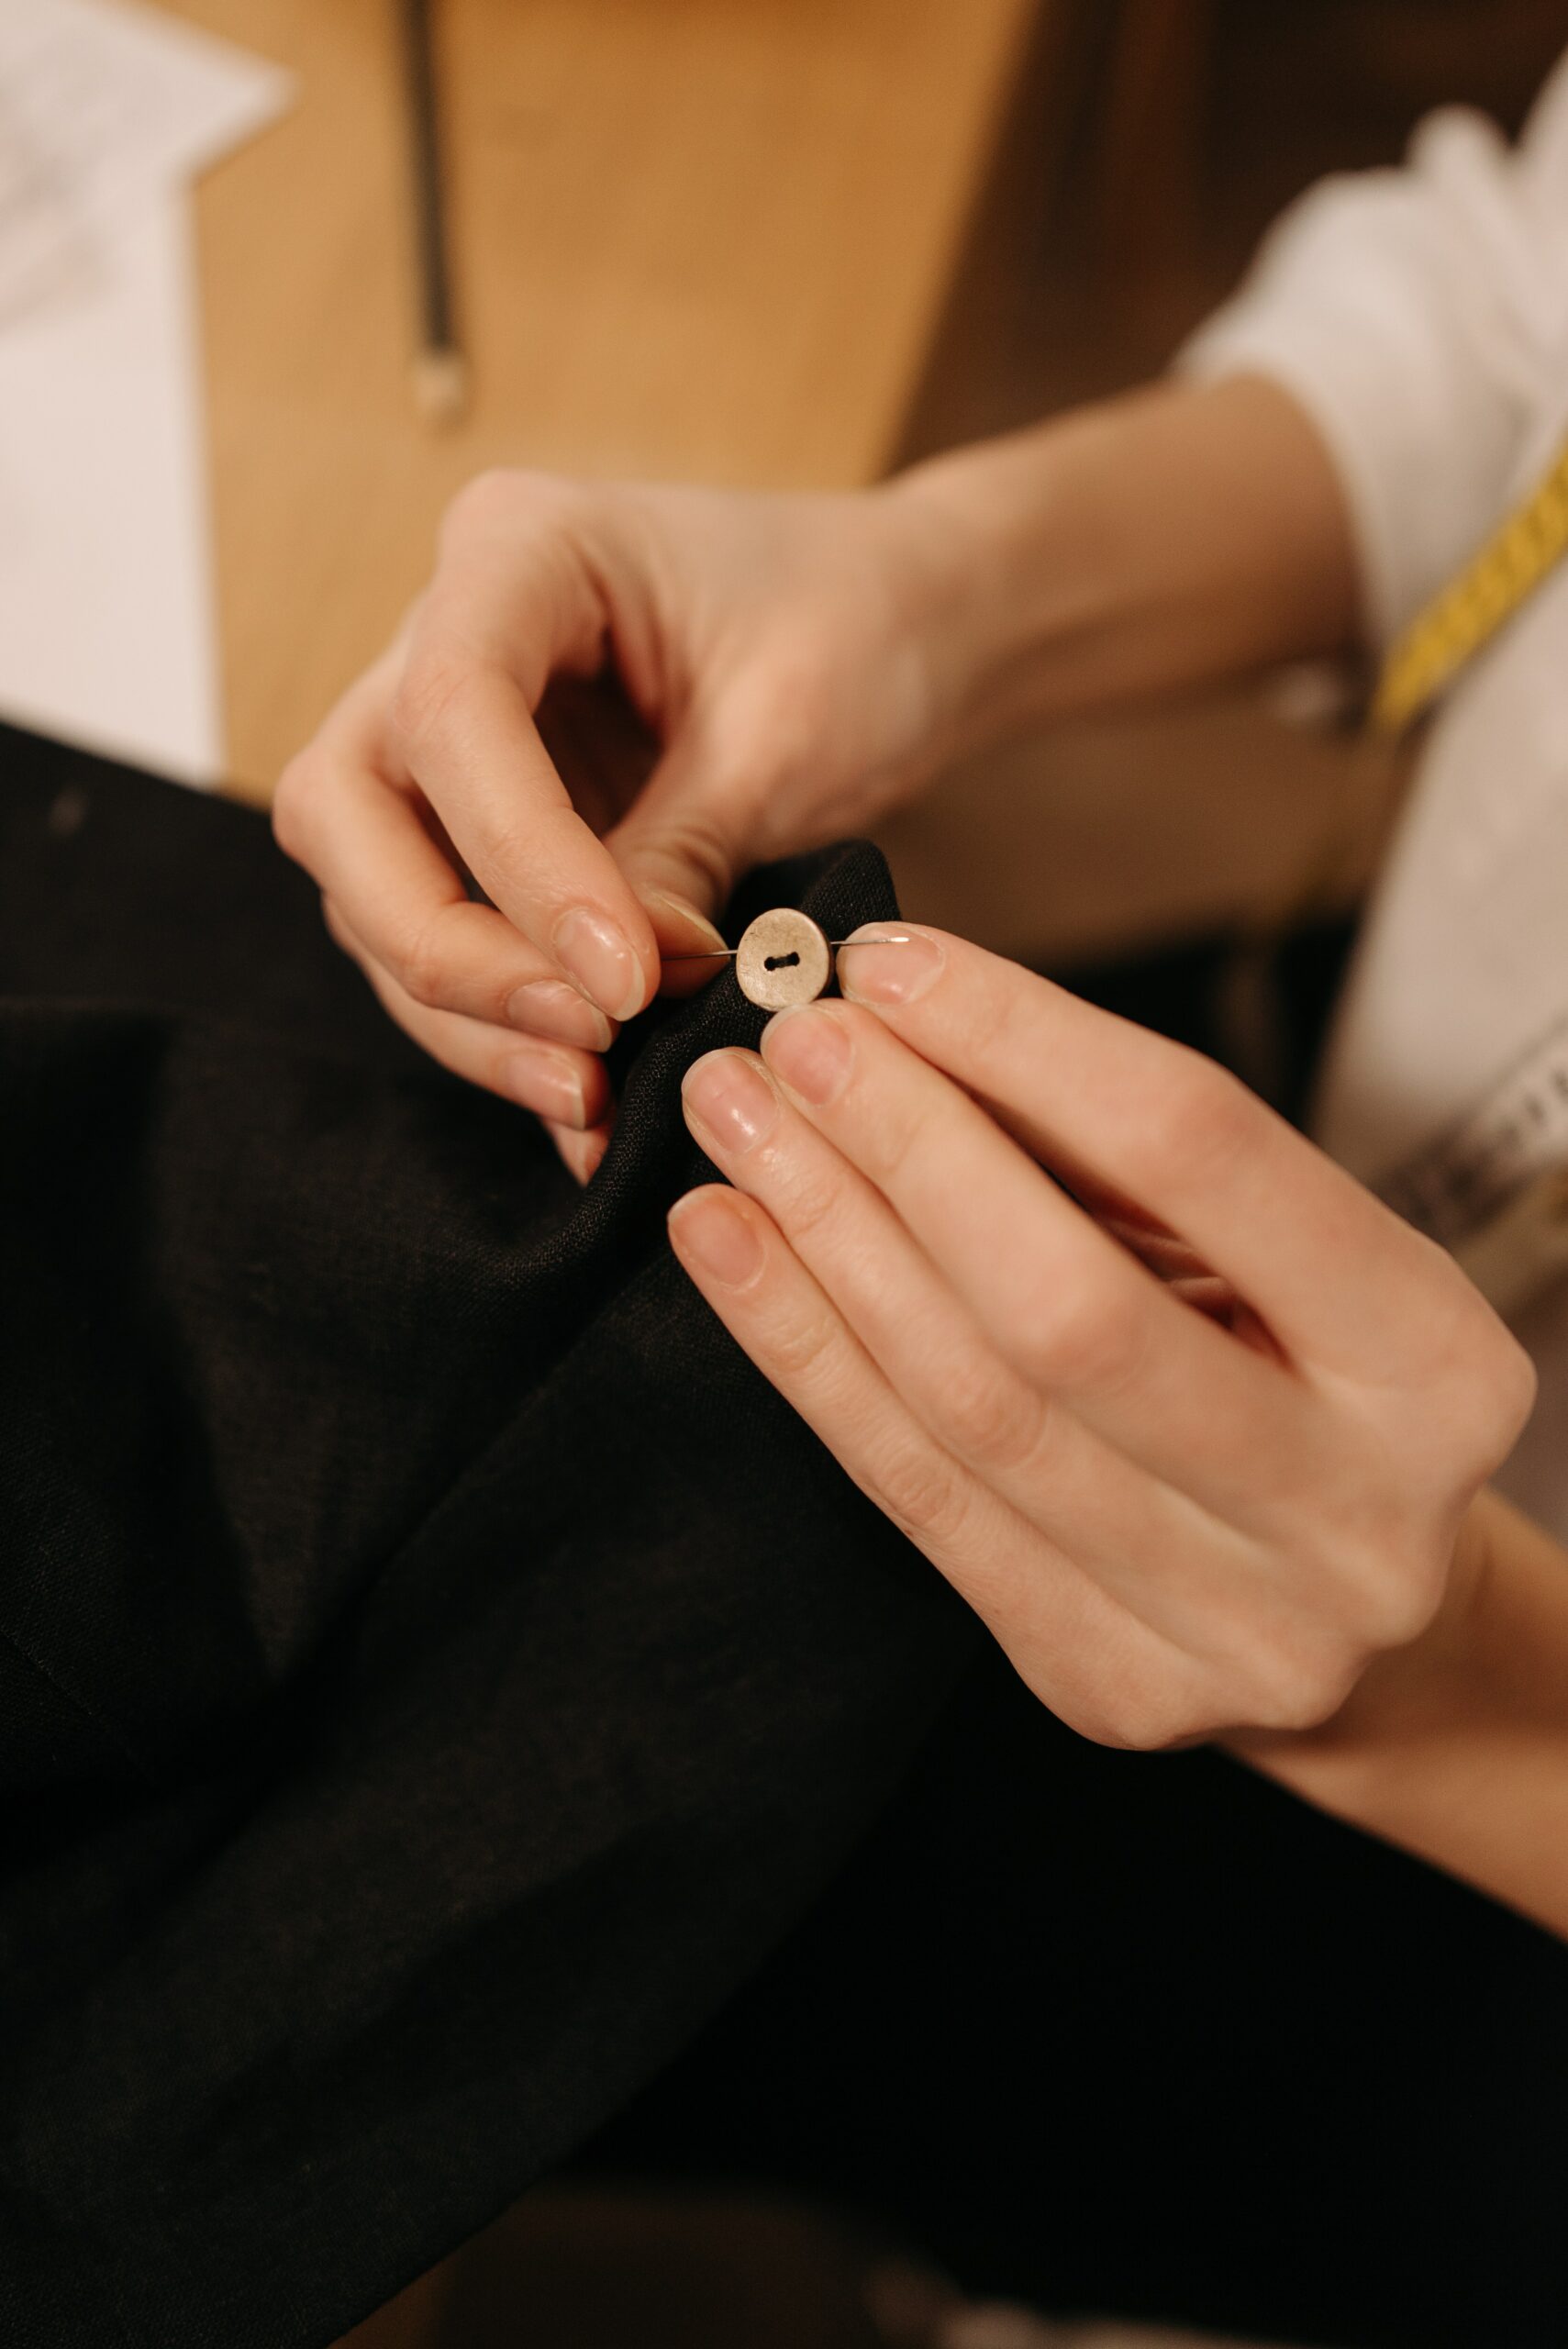
Step 5: Sew on the Button
Position the button over the anchor point. Pass the needle up through one of the buttonholes and then down through the opposite buttonhole. Repeat this process several times, making sure the button is securely attached.
Step 6: Create Shank (Optional)
If your button has holes on the flat side, you may want to create a shank. To do this, after passing through the buttonholes, wrap the thread around the threads between the button and the fabric several times. This raises the button slightly, allowing room for the fabric beneath it when you fasten the garment.
Step 7: Secure the Thread
Once the button is secure, create another anchor on the inside of the garment by passing the needle through the fabric. Tie a knot with the loose end of the thread and trim any excess.
Step 8: Final Checks
Before finishing, test the button to ensure it’s securely fastened and that it aligns properly with the buttonhole. Make any necessary adjustments if needed.
Step 9: Choosing the Right Thread and Button
When it comes to sewing on a button, the choice of thread and button can significantly impact the durability and appearance of your repair. For most garments, it’s essential to select a thread that closely matches the color of the fabric. If you can’t find an exact match, opt for a slightly darker shade rather than a lighter one, as it will be less noticeable.
Additionally, consider the type and size of the button. Buttons come in various materials, such as plastic, metal, and wood, each offering a unique look. Ensure the button you choose complements the style of your clothing. Furthermore, if the fabric is thick or heavy, select a button with larger holes to accommodate the doubled-up thread more easily. Paying attention to these details will result in a more professional and aesthetically pleasing outcome.
Step 10: Maintaining Your Clothing
Knowing how to sew a button is a valuable skill that extends the lifespan of your clothing. It’s a quick and cost-effective way to make minor repairs and prevent the need for expensive alterations or replacements. Regularly check your garments for loose buttons or missing ones, especially before laundering. By promptly addressing button issues, you can keep your wardrobe in excellent condition and continue to enjoy your favorite clothes for years to come.
In conclusion, sewing a button is a simple yet essential skill that can save you both time and money. With the right tools and a bit of practice, you can confidently repair loose or lost buttons on your clothing. Remember that attention to detail, from choosing the right thread and button to securing your stitches, is key to a successful outcome. By mastering this basic sewing technique, you’ll be better equipped to maintain your wardrobe and extend the life of your garments.
Photo by Pavel Danilyuk