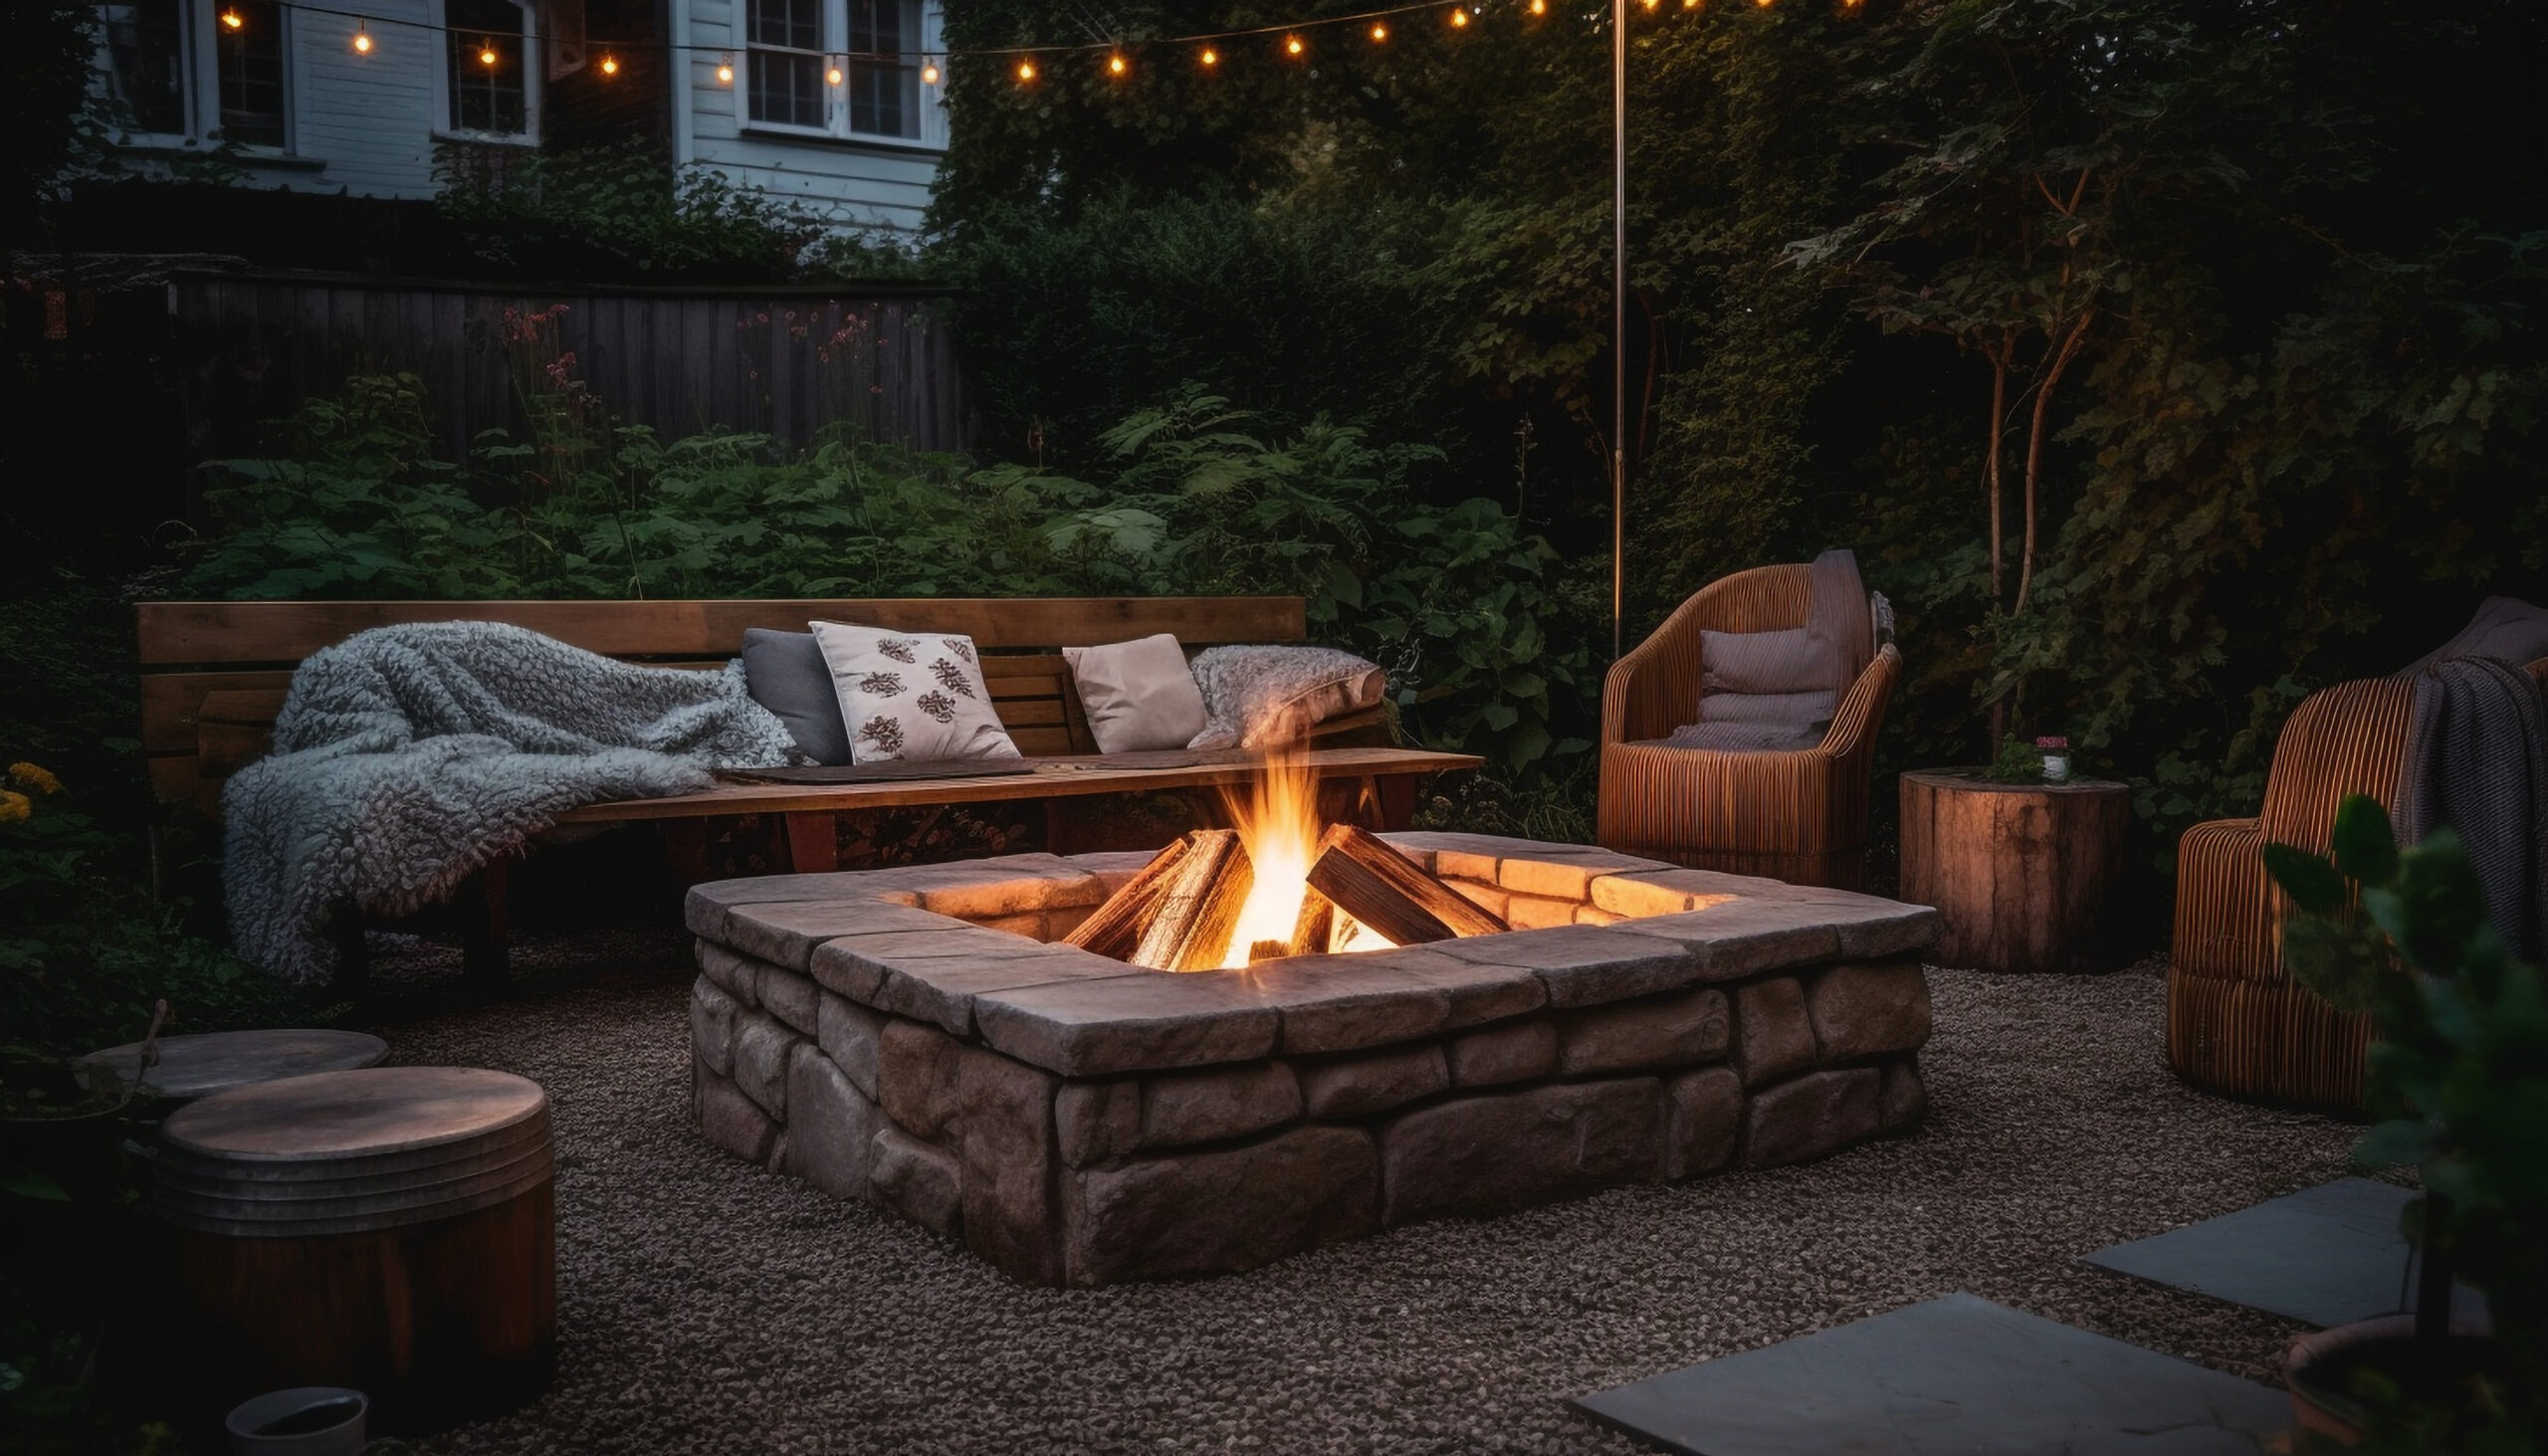
Imagine spending cozy evenings under the stars with the gentle crackle of a fire filling the air, a gentle breeze rustling the leaves, and a warm fire pit at the center of your patio. A fire pit can transform your backyard into an inviting oasis, a place where family and friends gather to share stories and create memories. Building a fire pit from scratch not only gives you a sense of accomplishment, but it also allows for unique customization, creating a focal point that reflects your style. This comprehensive guide will walk you through every step of planning, constructing, and enjoying your fire pit.
Before You Begin: Planning and Preparation
Location, Location, Location
Selecting the right location for your fire pit is crucial. Safety, accessibility, and aesthetics are key factors to consider. Here’s a detailed breakdown:
– Safety First: Start by assessing your backyard for any potential hazards. Keep the fire pit at least 6 feet away from your house, fences, trees, or other flammable materials. Check your local fire codes, as some may require a greater distance. Avoid placing the fire pit under low-hanging branches or near power lines. You should also choose a spot with good drainage to avoid pooling water.
– Accessibility and Comfort: Think about how you’ll use your fire pit. Is there enough room for seating around it? Consider the space required for people to move around comfortably without being too close to the fire. Ensure there’s a clear path for guests to approach the fire pit without tripping or stepping into the fire area.
– Focal Point: Determine how the fire pit will integrate with the rest of your patio. Would it work best as a central gathering point, or as a more private area off to the side? Consider how it can complement other outdoor features like a gazebo, garden, or pool. Positioning the fire pit in a spot where it can be viewed from inside the house is another excellent way to create a visually appealing focal point.
– Permits and Regulations: Before breaking ground, check local building codes and regulations. Some jurisdictions require a permit to construct a fire pit, while others might have restrictions on its size or the type of fuel you can use. Don’t skip this step; it’s better to be safe and compliant with local laws. Contact your local fire department or municipal office for specific information.
Design and Materials
With the location sorted, it’s time to decide on the design and materials for your fire pit. The design you choose will depend on your skill level, budget, and desired aesthetic. Here are some popular options and their advantages:
– Firebrick: A traditional choice known for its high heat resistance and durability. It requires masonry skills, but the result is a robust, long-lasting fire pit. Firebricks can be used to create intricate designs, and they can be easily customized to fit your preferred shape and size.
– Cast Iron Rings: This option is portable and easy to install. Cast iron provides excellent heat retention and is ideal for those who want a simpler setup. You can find cast iron rings in various sizes, and they can be combined with other materials like stone or pavers to create a custom look.
– Pre-cast Concrete Rings: These are a cost-effective choice, especially for those with limited masonry experience. While they are relatively easy to assemble, they might crack over time due to high heat. To mitigate this, ensure you’re using high-quality concrete rings specifically designed for fire pits.
– Stone or Pavers: If you’re looking for a natural, rustic appearance, stone or pavers are a great choice. They require a sturdy base and careful construction to ensure stability. Stones offer a wide range of textures and colors, allowing you to create a truly unique fire pit. When using stones, ensure they are heat-resistant and suitable for fire pit construction.
Building Your Fire Pit: Step-by-Step Guide
After you’ve finalized your design, obtained any necessary permits, and gathered your materials, it’s time to start building. The following step-by-step guide assumes a fire pit using fire bricks. You can adjust based on your chosen design and materials.
Excavation
Begin by marking the desired size and shape of your fire pit on the ground. A common size for a fire pit is a circle with a diameter of about 3-4 feet, but you can customize this based on your needs. Use stakes and string to outline the perimeter. Next, dig a pit to a depth of 12-18 inches. Ensure the base is level and free of debris or rocks that could cause instability.
Laying the Base
To create a stable foundation, add a 2-3 inch layer of crushed gravel or sand at the bottom of the pit. This base material helps with drainage and provides a solid surface for your fire pit walls. Use a tamper or a heavy object to compact the base material, ensuring it is even and stable.
Building the Fire Pit Wall
Now it’s time to build the fire pit wall. Lay your first course of fire bricks around the perimeter of the pit. Use firebrick mortar to secure the bricks together. Be sure to stagger the bricks for added stability and strength. As you add more courses, use a level to ensure each layer is straight and even. Typically, 2-4 layers are enough, but this can vary depending on your design.
Airflow Channels
Proper airflow is crucial for a well-functioning fire pit. Leave a few small gaps between the bottom layer of bricks to allow air to flow into the fire. This will help the fire burn more efficiently and keep it from going out unexpectedly. These gaps can be evenly spaced around the fire pit to ensure even airflow.
Optional Features
To enhance your fire pit’s functionality and appearance, consider adding a fire pit ring or grate on top of the firebrick wall. This can help elevate the burning platform and make it easier to remove ash and debris. You might also want to add a decorative cap or edging around the top of the fire pit for a more finished look. If you plan to use the fire pit for cooking, consider adding a grill grate or a rotisserie attachment.
Curing Time
After building your fire pit, allow the firebrick mortar to cure completely before lighting your first fire. Curing times can vary depending on the mortar and weather conditions, but typically, it takes 24-48 hours. Follow the manufacturer’s instructions for curing to ensure your fire pit is safe and durable.
Safety Tips and Enjoying Your Fire Pit
Fire safety is critical when using a fire pit. Here are some essential tips to keep in mind for a safe and enjoyable experience:
– Never leave a burning fire unattended. Always have someone watching the fire, and be prepared to extinguish it if necessary.
– Keep children and pets at a safe distance from the fire pit. Establish clear boundaries and use safety barriers if needed.
– Only burn seasoned firewood. Avoid using lighter fluid, gasoline, or other flammable liquids to start the fire. These substances can be extremely dangerous and lead to unpredictable fires.
– Have a fire extinguisher or a bucket of sand readily available in case of emergencies. Know where these items are located and how to use them.
– Extinguish the fire completely before leaving the fire pit unattended. Douse the embers with water, then stir to ensure no hot spots remain. This is crucial for preventing accidental fires.
With your fire pit complete and safety measures in place, you’re ready to enjoy the warmth and ambiance it provides. Invite friends and family, toast marshmallows, and share stories around the fire. The fire pit will become a cherished addition to your outdoor space, bringing warmth, comfort, and memories that will last a lifetime.