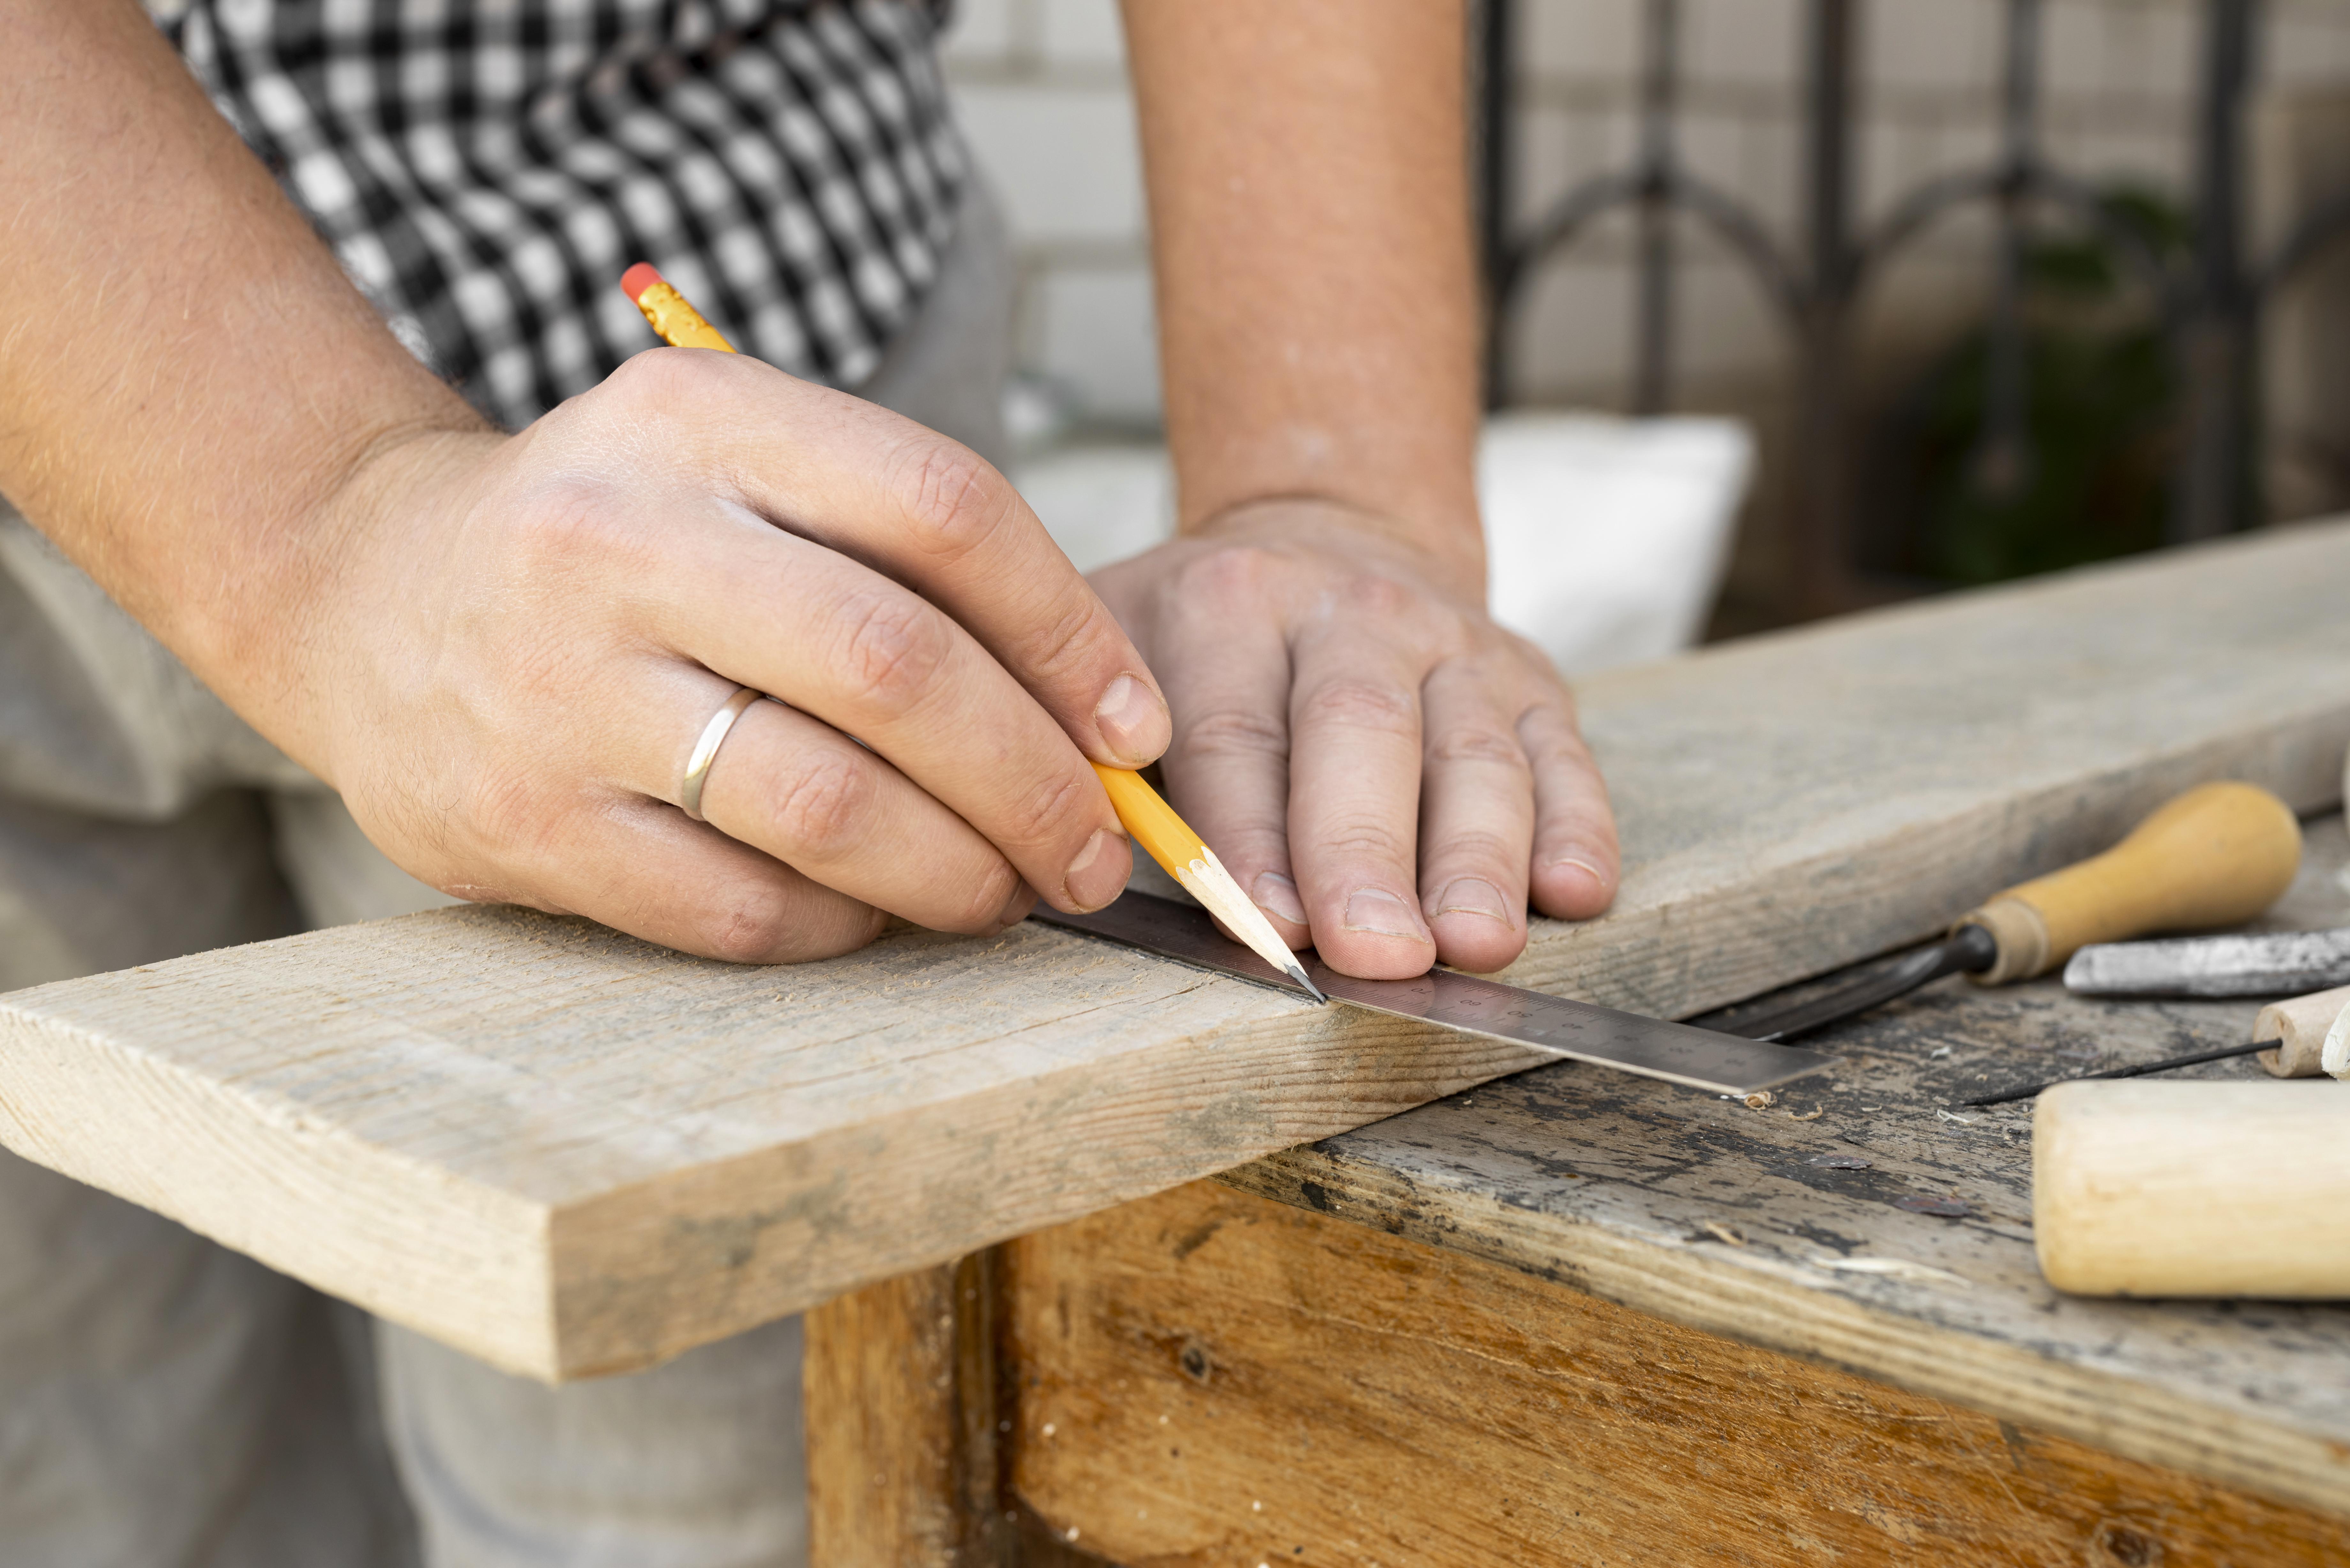
Are you looking to add some storage space to your home while also flexing your DIY muscles? Building a simple bookshelf is an excellent project for beginners and experienced craftspeople alike. This guide will walk you through the process of how to build a simple bookshelf that’s both functional and attractive. With some basic tools and materials, you’ll have a custom piece of furniture in no time!
1. Essential Materials and Tools for Building Your Simple Bookshelf
Before you start, make sure you have all the necessary materials and tools. Here’s what you’ll need to build a simple bookshelf:
Materials:
- 1 sheet of 3/4″ plywood (4′ x 8′)
- 1″ x 2″ pine boards for trim (about 20 linear feet)
- Wood glue
- 1-1/4″ wood screws
- Wood filler
- Sandpaper (medium and fine grit)
- Paint or wood stain of your choice
Tools:
- Circular saw or table saw
- Drill with screwdriver bits
- Measuring tape
- Carpenter’s square
- Clamps
- Safety goggles and dust mask
2. Designing Your Simple Bookshelf: Planning for Success
Before you start cutting wood, it’s important to plan your bookshelf design. For this simple bookshelf, we’ll create a design with the following dimensions:
- Height: 48 inches
- Width: 36 inches
- Depth: 12 inches
- Number of shelves: 3 adjustable shelves plus top and bottom
These dimensions will create a versatile bookshelf that can hold books of various sizes. Feel free to adjust the measurements to suit your specific needs.
3. Cutting Wood for Your DIY Bookshelf Project
Now that you have your design, it’s time to cut the wood. Here’s a breakdown of the pieces you’ll need to build a simple bookshelf:
- 2 side panels: 48″ x 12″
- Top and bottom panels: 36″ x 12″
- 3 adjustable shelves: 35-1/4″ x 11-1/4″ (slightly smaller to fit inside the frame)
- 1 back panel: 47-1/4″ x 35-1/4″
Use your circular saw or table saw to cut these pieces from the plywood sheet. Remember to wear safety goggles and a dust mask while cutting.
4. Step-by-Step Assembly of Your Simple Bookshelf Frame
Now that you have all your pieces cut, it’s time to assemble the frame of your simple bookshelf:
- Apply wood glue to the edges of the top and bottom panels where they’ll meet the side panels.
- Attach the top and bottom panels to the side panels using clamps to hold them in place.
- Pre-drill holes and secure the joints with wood screws.
- Attach the back panel to the frame using wood glue and screws around the perimeter.
5. Installing Shelves in Your Homemade Bookshelf
To create adjustable shelves for your simple bookshelf:
- Measure and mark shelf support positions on the inside of the side panels. Space them evenly, about 6-8 inches apart.
- Install shelf supports or drill holes for shelf pins.
- Place the cut shelves onto the supports or pins.
6. Finishing Your DIY Bookshelf: Final Touches
Now that the basic structure is complete, it’s time to add the finishing touches:
- Use wood filler to cover any screw holes or imperfections.
- Once the wood filler is dry, sand the entire bookshelf smooth, starting with medium-grit sandpaper and finishing with fine-grit.
- Wipe away all dust with a tack cloth.
- Apply your chosen paint or wood stain according to the product instructions.
- Once the finish is dry, attach the 1″ x 2″ pine boards as trim to the front edges of the bookshelf for a polished look.
7. Expert Tips for Building a Sturdy Simple Bookshelf
- Measure twice, cut once to avoid wasting materials.
- Use a carpenter’s square to ensure your cuts and assemblies are square.
- Pre-drill holes before inserting screws to prevent the wood from splitting.
- Sand in the direction of the wood grain for the smoothest finish.
- Consider adding L-brackets for extra support if your bookshelf will hold heavy items.
8. Customizing Your Handmade Bookshelf Design
Once you know how to build a simple bookshelf, you can easily customize the design to fit your needs:
- Adjust the dimensions to fit your space perfectly.
- Add more shelves for additional storage.
- Install cabinet doors on the lower portion for hidden storage.
- Use decorative molding instead of simple trim for a more elegant look.
- Paint designs or patterns on the back panel for a pop of color.
Conclusion: Enjoying Your Newly Built Simple Bookshelf
Learning how to build a simple bookshelf is a rewarding DIY project that can save you money and give you a custom piece of furniture. With these step-by-step instructions, you’ll be able to create a functional and attractive bookshelf that fits your space and style perfectly. Remember to take your time, measure carefully, and prioritize safety throughout the process. Happy building!
Now that you know how to build a simple bookshelf, why not tackle more advanced woodworking projects? With each project, you’ll gain skills and confidence in your DIY abilities. Enjoy your new bookshelf and the satisfaction of having built it yourself!
