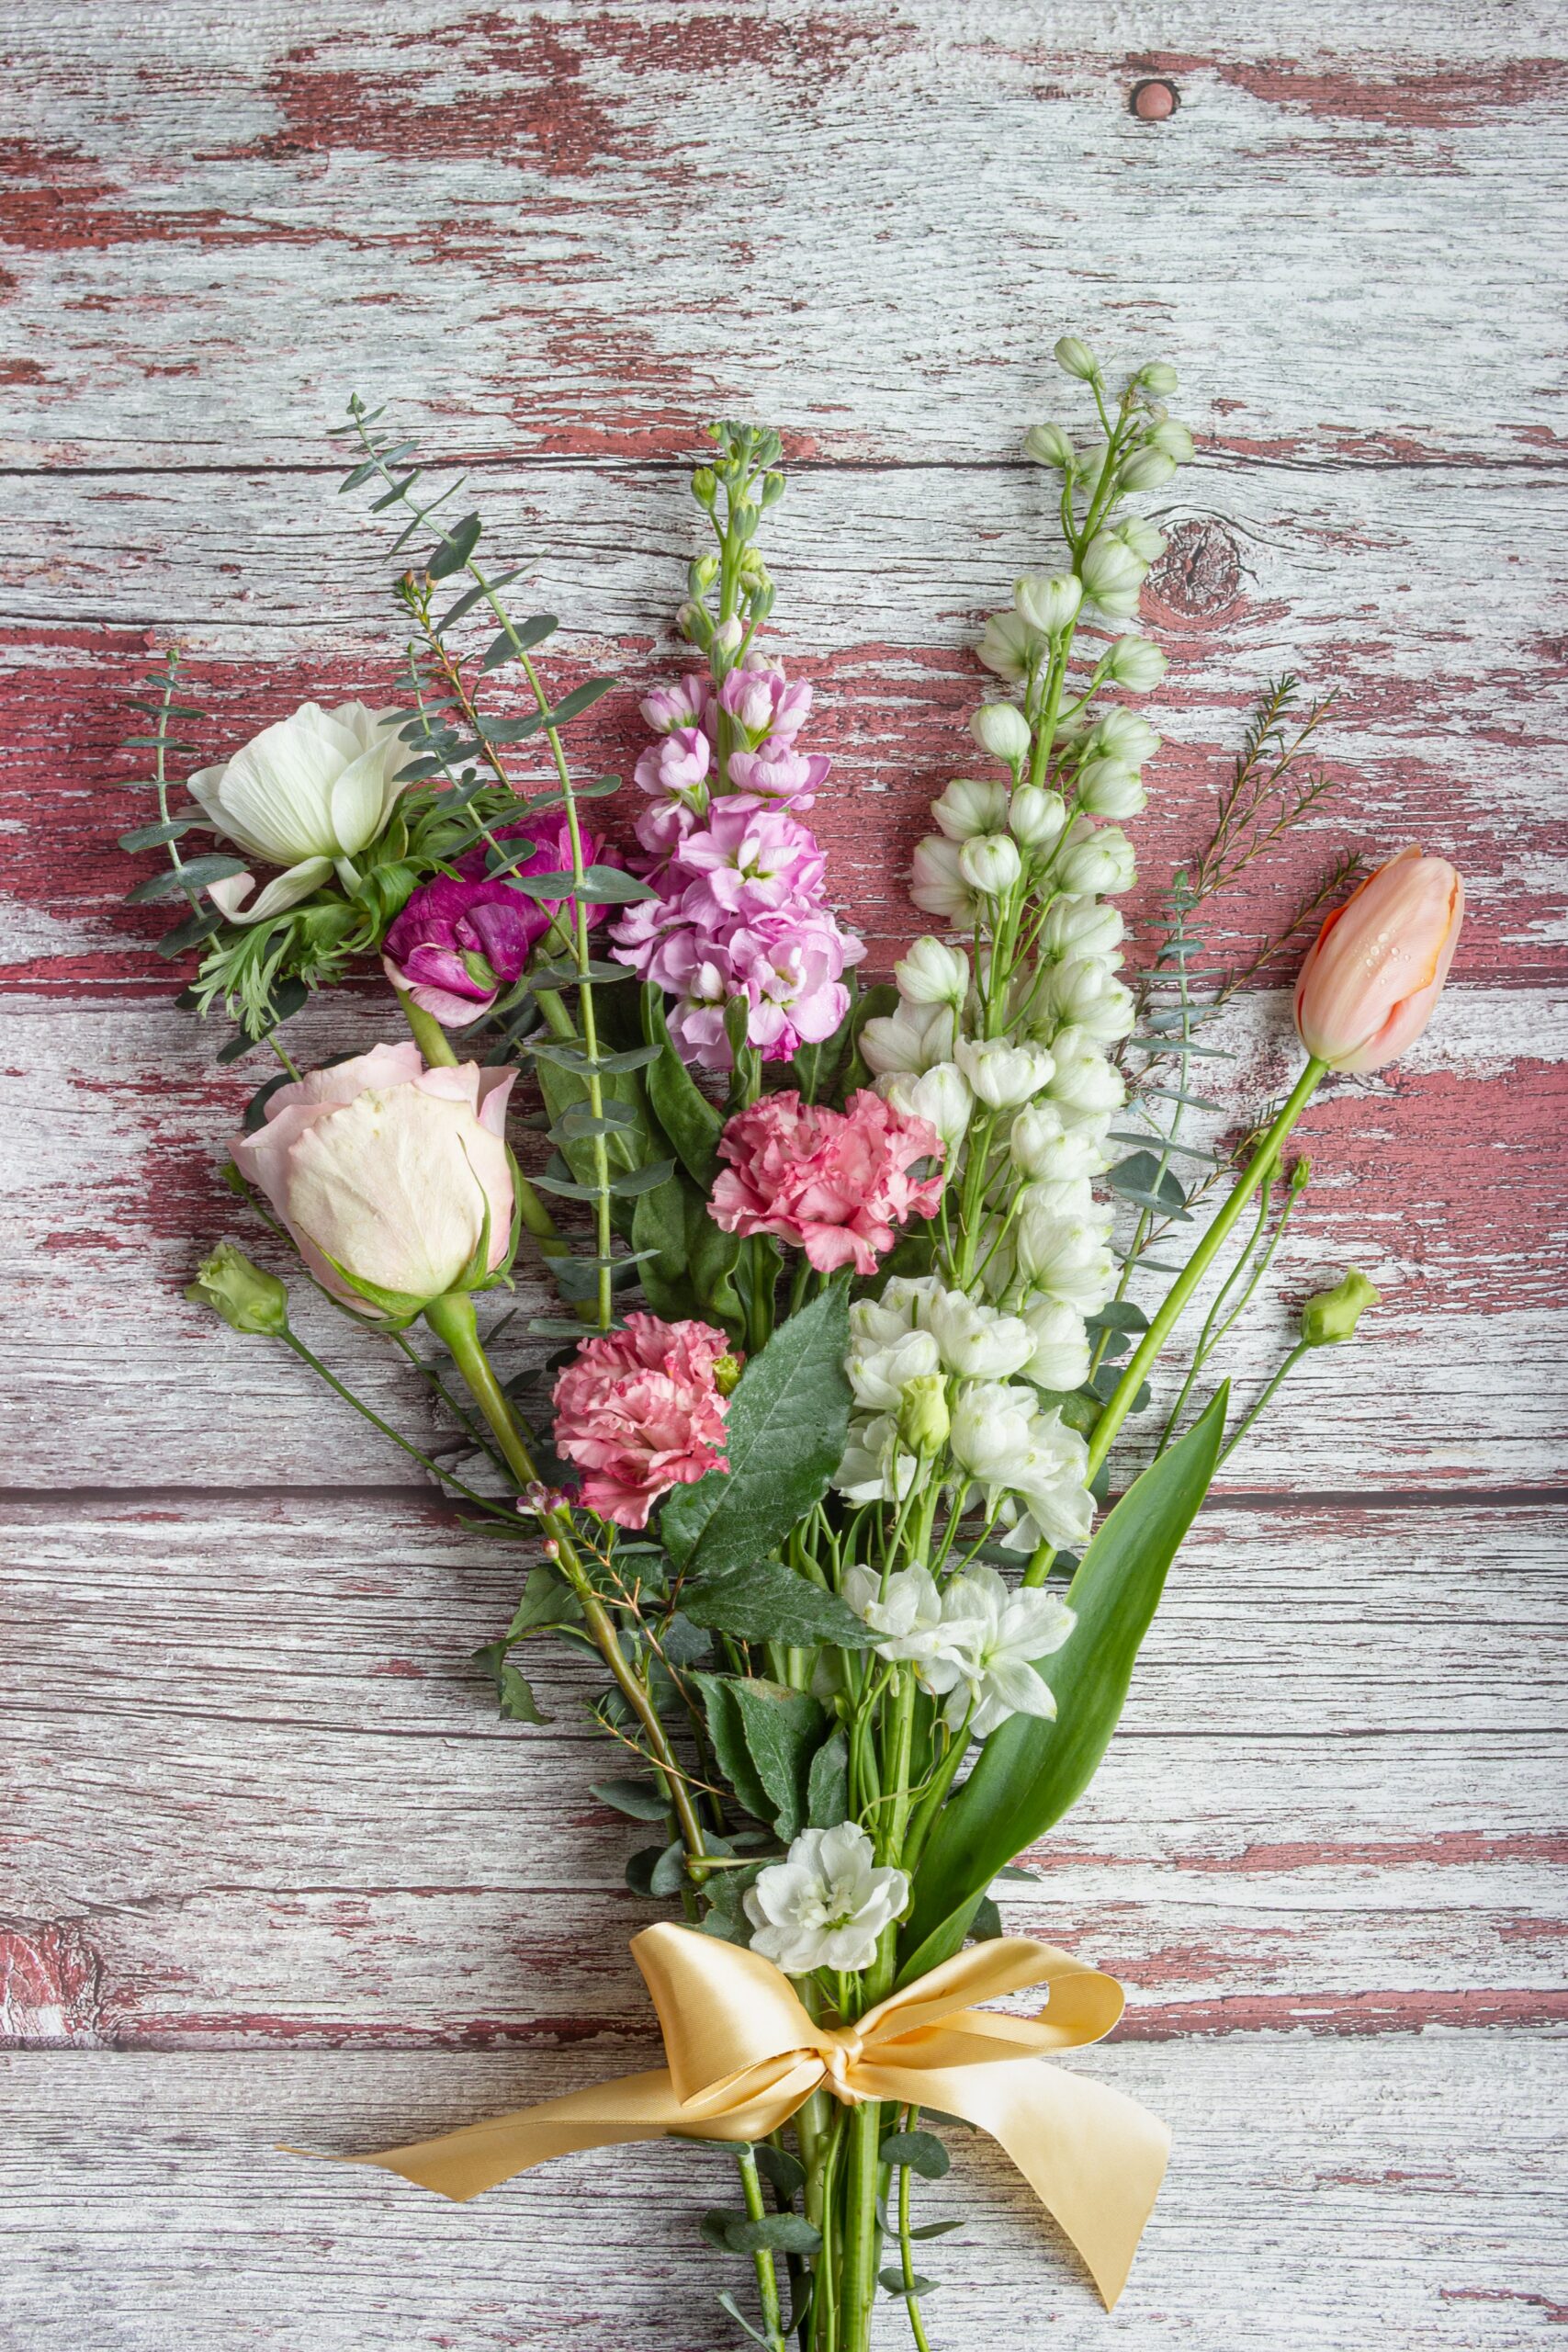
Tying a beautiful bow is a skill that comes in handy for various occasions, from gift wrapping to adding that perfect finishing touch to your outfits. Whether you’re crafting a gift or enhancing your style, knowing how to tie a bow is essential. In this step-by-step guide, we’ll walk you through the process, ensuring your bows always look picture-perfect.
Materials You’ll Need:
Before we dive into the steps, gather these materials:
Ribbon or fabric: Choose a ribbon or fabric strip of your desired width and length. The color and texture depend on your project.
Scissors: A sharp pair of scissors to cut the ribbon cleanly.
Now, let’s get started on tying the perfect bow:
Step 1: Make Two Loops
Hold the ribbon in your hand, leaving a tail hanging down. Create a loop by folding the ribbon over itself, making a simple knot. This forms the first loop. Ensure that the loose end is behind the loop.
Step 2: Cross the Loops
Take the longer end of the ribbon and create another loop, similar in size to the first one. Cross this loop over the first one, forming an “X” shape.
Step 3: Tuck and Pull
Pass the top loop (the one you just created) behind the bottom loop, tucking it underneath. Pull the ends of both loops to tighten the bow.
Step 4: Adjust and Fluff
Hold onto the loops and tails, adjusting the size of the bow by pulling gently. To create a full and elegant bow, fluff out the loops and tails until you’re satisfied with the appearance.
Step 5: Trim the Tails
Using your scissors, trim the ends of the ribbon tails at an angle or in a V-shape to add a polished finish to your bow.
And there you have it—the perfect bow! Practice makes perfect, so don’t be discouraged if your first attempt isn’t flawless. With time, you’ll become a bow-tying pro, impressing everyone with your beautifully wrapped gifts and stylish accessories. #everydaylife
Photo by micheile henderson on Unsplash
