Blog

  • How to clean a greasy pan

    How to clean a greasy pan

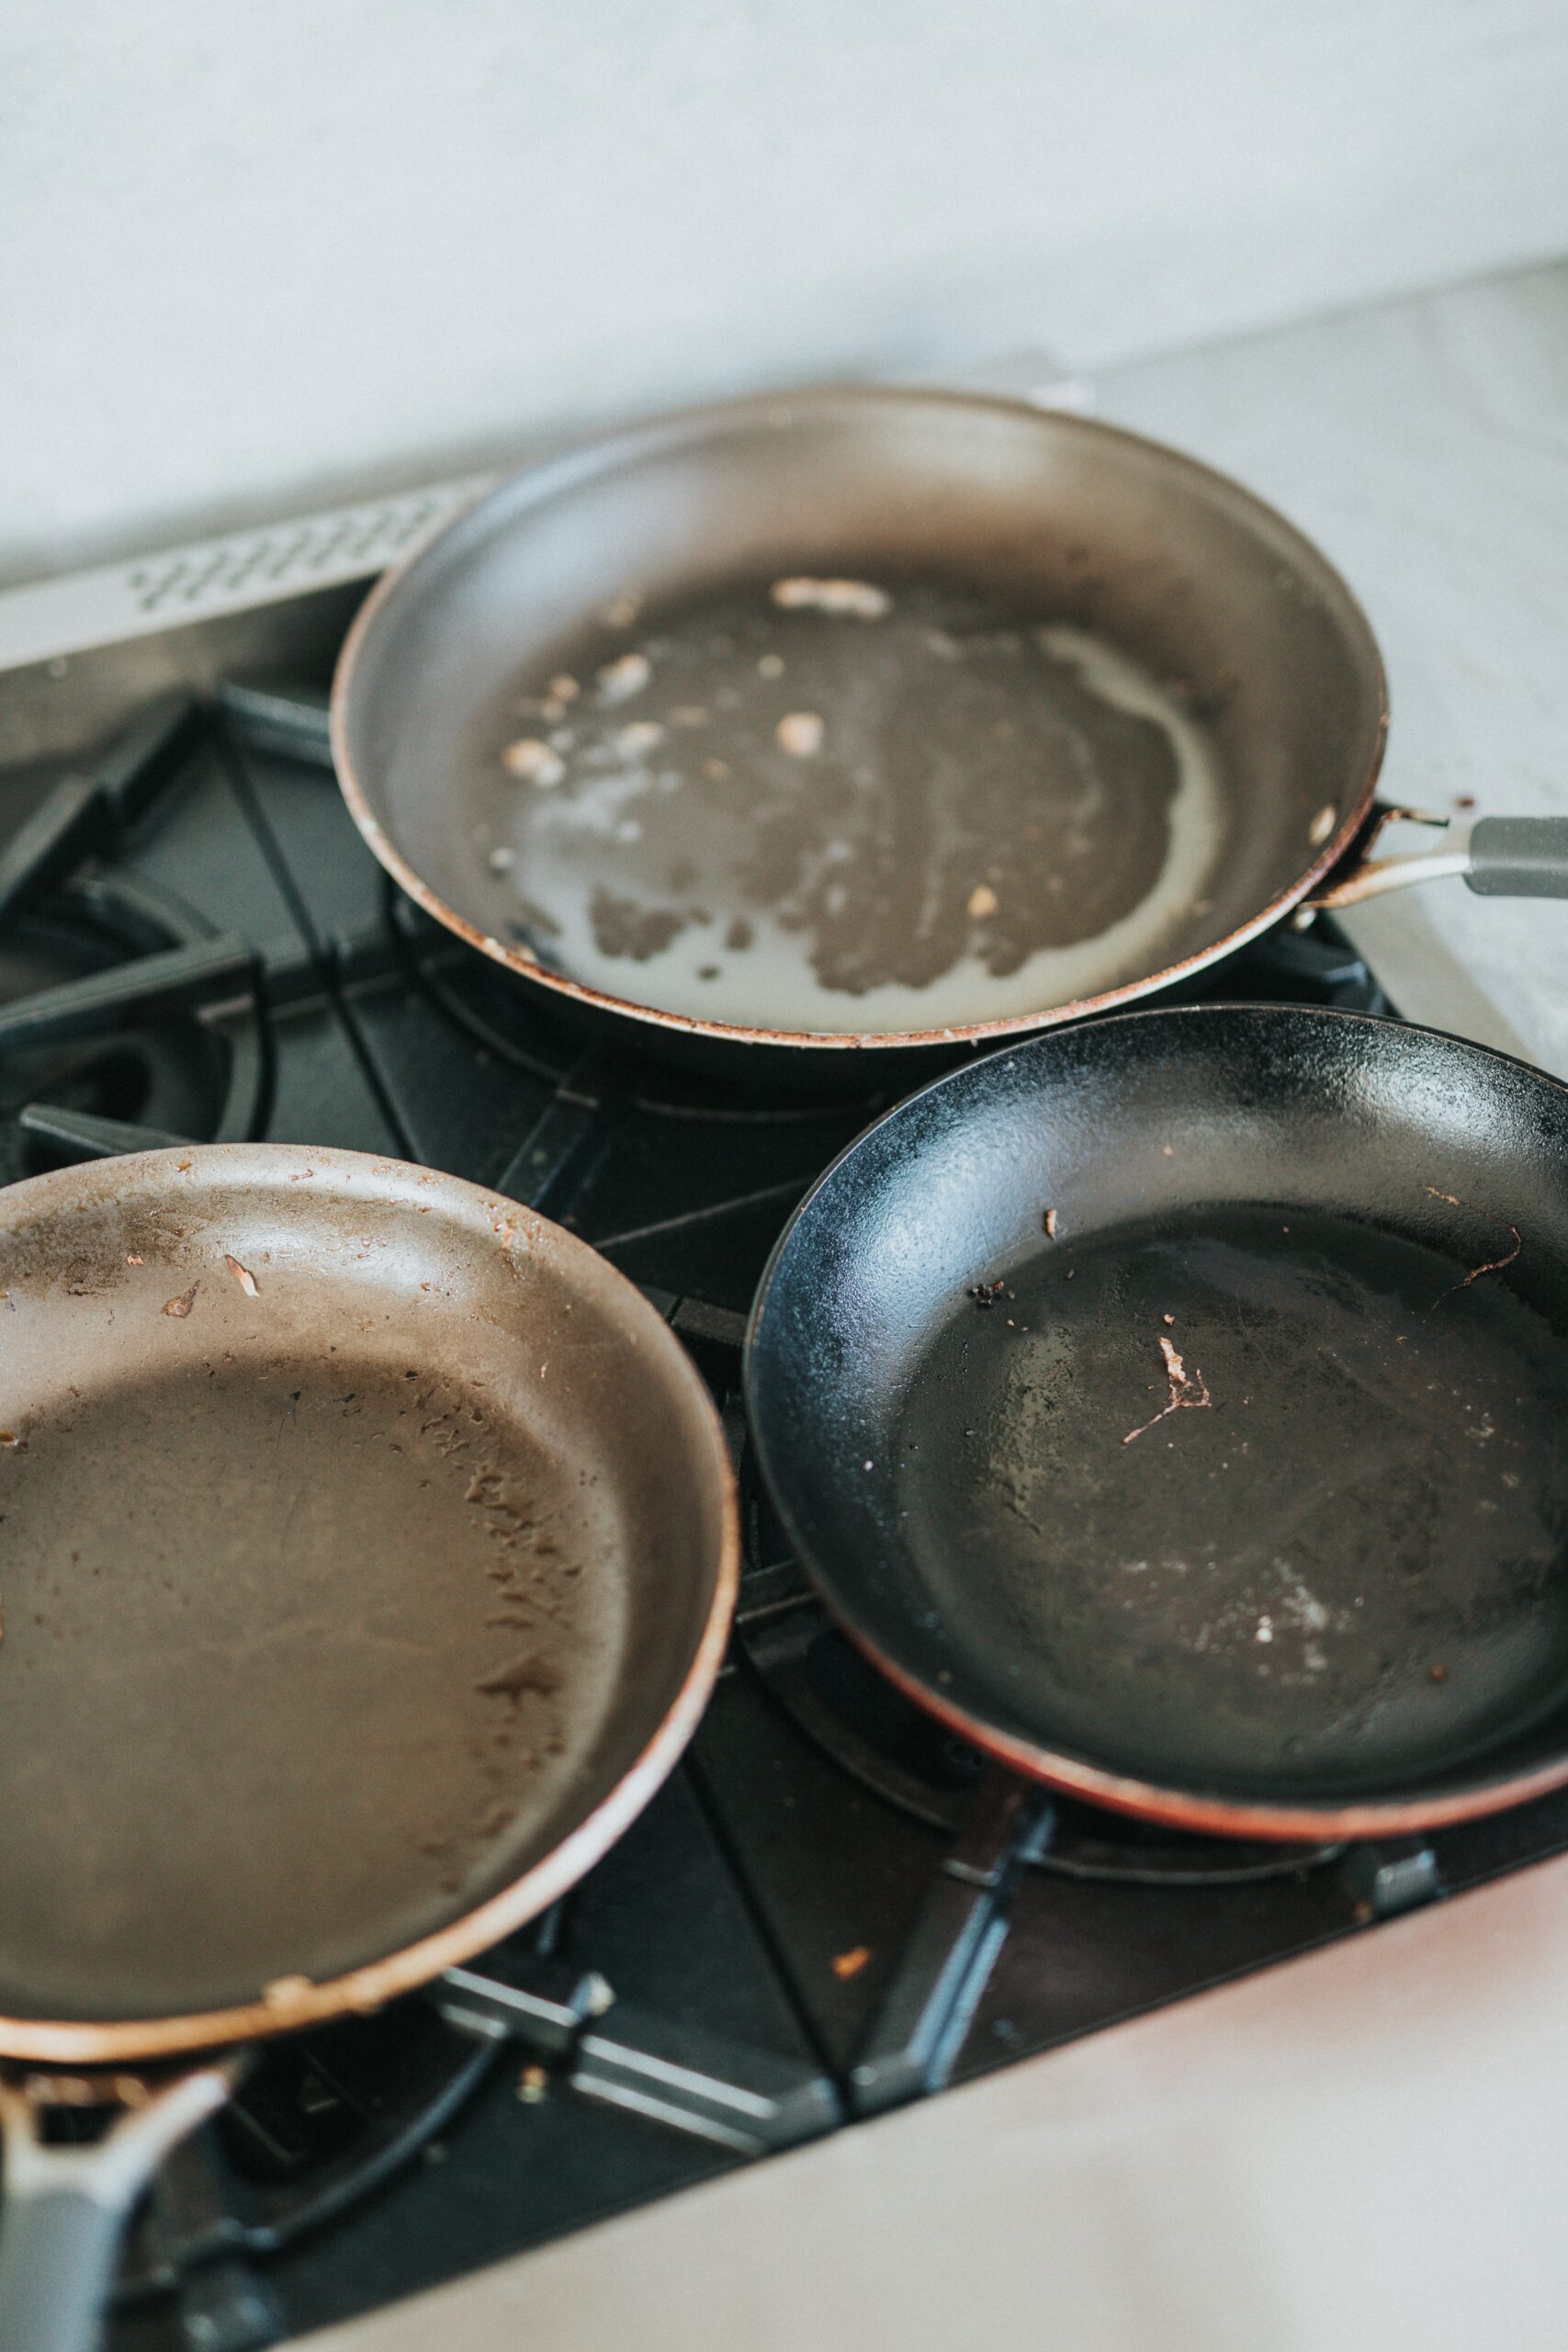
    Cleaning a greasy pan can be a daunting task, but it’s an essential skill for anyone who loves cooking. Grease buildup not only affects the taste of your food but can also damage your cookware over time. In this comprehensive guide, we will explore various techniques and tips to help you clean a greasy pan effectively and restore it to a spotless condition.

    Before diving into the cleaning process, let’s gather the necessary tools and materials:

    • Dish Soap
    • Baking Soda
    • White Vinegar
    • Boiling Water
    • Non-abrasive Scrubbing Pad
    • Paper Towels
    • Protective Gloves

    Once you have everything ready, follow these steps to clean a greasy pan:

    1. Allow the Pan to Cool

    After cooking, remove the pan from the heat source and let it cool down. Attempting to clean a hot pan can lead to burns or damage to your cookware.

    2. Pour Out Excess Grease

    Carefully pour out any excess grease or oil from the pan into a container. Dispose of it properly according to your local regulations.

    3. Wash with Hot, Soapy Water

    Fill the greasy pan with hot water and add a few drops of dish soap. Let it soak for at least 15 minutes. This helps soften the grease and makes it easier to remove.

    Passive voice can be used effectively in this step: “The pan should be filled with hot water and soaked with dish soap to facilitate grease removal.”

    4. Scrub Gently

    Use a non-abrasive scrubbing pad to gently scrub the pan’s surface. Focus on areas with stubborn grease buildup. Avoid using harsh abrasives, as they can damage the pan’s coating.

    Transition words like “Additionally,” “Moreover,” and “Furthermore” can be used to enhance the flow of the instructions.

    5. Create a Baking Soda Paste

    Mix baking soda with a small amount of water to create a paste. Apply this paste to areas with particularly stubborn grease. Let it sit for a few minutes to break down the grease.

    Passive voice can be integrated: “A paste made from baking soda and water can be applied to grease-affected areas for effective cleaning.”

    6. Use White Vinegar

    White vinegar is an excellent natural cleaner. Pour a small amount of white vinegar into the pan and use a non-abrasive scrubbing pad to scrub away any remaining grease.

    7. Rinse Thoroughly

    Rinse the pan thoroughly with hot water to remove any remaining soap, baking soda, or vinegar residue. Inspect the pan to ensure all grease is gone.

    Transition words like “Additionally,” “Furthermore,” and “Consequently” can be used to improve the article’s flow.

    8. Dry Completely

    Use paper towels or a clean cloth to dry the pan completely. Ensuring it’s dry prevents any moisture-related issues or the formation of new grease.

    9. Maintenance Tips

    To prevent future grease buildup, consider the following tips:

    • Use cooking sprays sparingly.
    • Regularly wipe down your pan after each use.
    • Store your pans properly, ensuring they are clean and dry.

    In conclusion, knowing how to clean a greasy pan is a valuable kitchen skill that keeps your cookware in good condition and your meals tasting great. By following these steps and using the right tools and materials, you can efficiently remove grease buildup and maintain spotless pans for your culinary adventures.

    So, whether you’re a seasoned chef or a home cook, mastering the art of cleaning greasy pans is a practical skill that enhances your cooking experience.

    Photo by Nathan Dumlao on Unsplash

  • How to use a handsaw

    How to use a handsaw

    Using a handsaw is a fundamental skill for woodworking, DIY projects, and more. Whether you’re cutting wood for a home renovation or crafting a handmade piece, knowing how to use a handsaw properly is essential. In this comprehensive guide, we will explore various techniques and tips to help you use a handsaw effectively for safe and precise cutting tasks.

    Before we dive into the specifics of handsaw usage, let’s make sure you have the necessary tools and equipment:

    • Handsaw (with appropriate teeth per inch for your task)
    • Workpiece (the material you’ll be cutting)
    • Measuring tape
    • Pencil or marking tool
    • Workbench or sawhorse (optional but recommended for stability)
    • Safety goggles
    • Ear protection (for noisy cutting tasks)

    Now, let’s proceed with the step-by-step guide on how to use a handsaw effectively:

    1. Mark Your Cut

    Begin by marking the precise location where you intend to make your cut on the workpiece. Use a measuring tape and a pencil or marking tool for accuracy. Double-check your measurements to avoid mistakes.

    2. Choose the Right Handsaw

    Select a handsaw with the appropriate teeth per inch (TPI) for your task. For finer cuts, choose a saw with higher TPI, while coarser cuts may require a saw with lower TPI. The saw’s teeth should face forward (away from the handle).

    Passive voice can be used effectively in this step: “The right handsaw should be chosen based on the specific task being performed.”

    3. Secure the Workpiece

    If possible, secure the workpiece firmly on a workbench or sawhorse to prevent it from moving during the cutting process. This stability is crucial for safe and accurate cuts.

    Transition words like “Additionally,” “Moreover,” and “Furthermore” can be used to enhance the flow of the instructions.

    4. Hold the Handsaw Properly

    Hold the handsaw’s handle with one hand and the front of the blade with your other hand. Your grip should be firm but not too tight, allowing for better control and reduced strain on your wrist.

    Passive voice can be integrated: “The handsaw’s handle should be held with one hand, while the front of the blade should be grasped with the other hand.”

    5. Start the Cut

    Position the saw blade on the marked cutline, ensuring that the saw’s teeth are just touching the workpiece. Begin the cut by making several light, controlled strokes to create a shallow groove.

    6. Establish the Kerf

    Continue making light strokes until you’ve created a shallow groove or kerf along the cutline. This kerf will guide the saw and prevent it from wandering off course.

    Transition words like “Additionally,” “Furthermore,” and “Consequently” can be used to improve the article’s flow.

    7. Increase Your Cutting Pace

    Once the kerf is established, you can increase your cutting pace while maintaining control. Use long, steady strokes to cut through the workpiece.

    8. Stay on Your Cutline

    Always aim to keep the saw blade aligned with your marked cutline. Pay close attention to your progress to avoid veering off course.

    9. Finish the Cut

    As you approach the end of your cut, slow down to prevent splintering or tearing out on the exit side of the workpiece. Make sure your final strokes are even and controlled.

    10. Safety First

    Remember to wear safety goggles to protect your eyes from flying debris and, if needed, wear ear protection for noisy cutting tasks. Always exercise caution and prioritize safety when using a handsaw.

    In conclusion, mastering the use of a handsaw is a valuable skill for woodworking and DIY enthusiasts. By following these steps and adhering to safety guidelines, you can make precise cuts with confidence. Whether you’re building furniture or tackling home improvement projects, a well-executed handsaw cut is a fundamental aspect of craftsmanship.

    So, whether you’re a seasoned woodworker or just starting with DIY projects, understanding how to use a handsaw effectively is a skill that opens the door to countless creative possibilities.

    Photo by Jonathan Cooper on Unsplash